- style
Getting Started with SharePoint Essentials Toolkit
Author: The content of this macro can only be viewed by users who have logged in.
This article applies to SharePoint Essentials Toolkit v6.1.3.0 and later
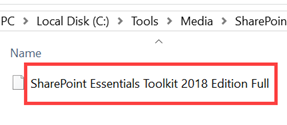
Once you have downloaded the SharePoint Essentials Toolkit zip file, extracts the contents into a folder on your computer. Double-clicking the zip will extract the installer package ready for you to install.
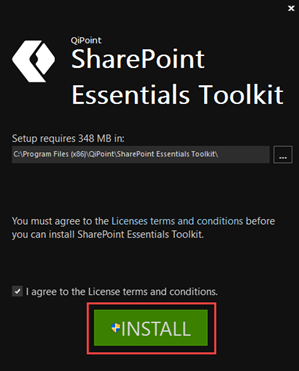
Double-click the executable to begin the installation process. The start screen will load, with the default location already set. You will need to check the “I agree to the License terms and conditions” checkbox before the “Install” button is available.
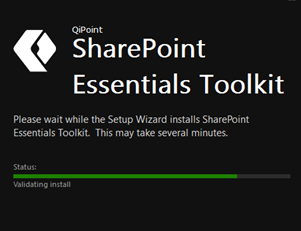
You can see the current status of the installation clearly on the screen, plus it will explain which installation task is currently running.
Once the installation completes, a link to a text file link will display. To complete the wizard, press the “Finish.”

Upon clicking the “Finish” button, the wizard will close returning you to your desktop. A Desktop icon and start menu items will be added as part of the installation. Any of these when clicked will launch the SharePoint Essentials Toolkit. When clicked the loading screen is provided letting you know that all components and services are loading.

Once the application has loaded, the core menu and navigation items are displayed. To get started, you will need to add either SharePoint On-premises or Office 365 URLs. To add a new site press, the “+ add site” item in the left navigation.
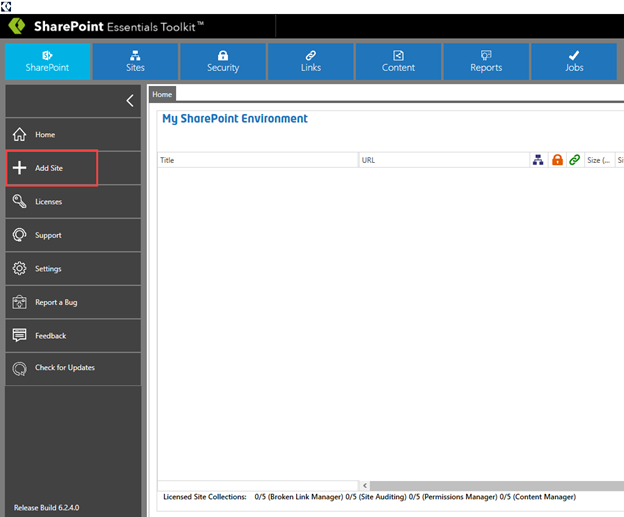
The screen for adding sites will be loaded by to the tool.
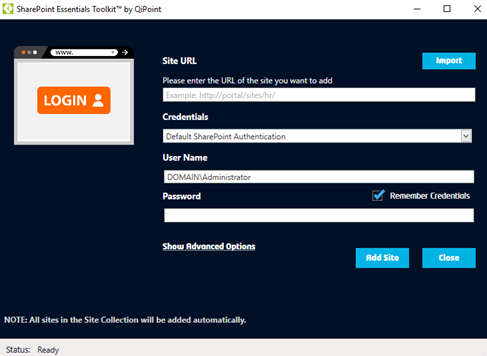
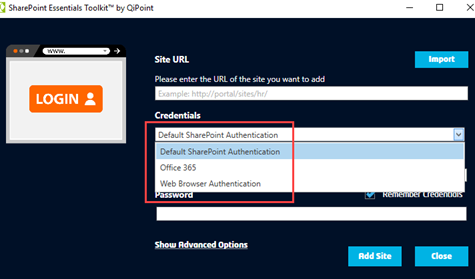
To add a site, you need the URL, credential mechanism, username, and password, plus any of the advanced options set. SharePoint Essentials Toolkit supports standard Windows NTLM authentication, as well as Office 365, and web form based authentication such as Active Directory Federated Authentication.
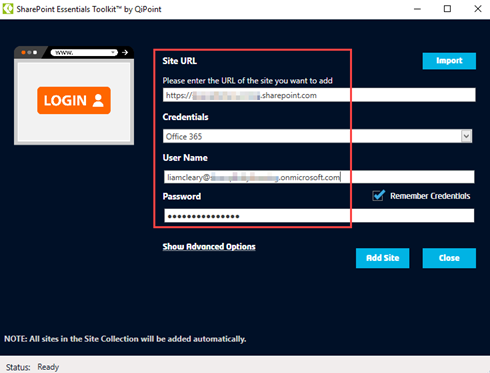
Adding an Office 365 site can be completed, by typing the URL to the SharePoint Online URL, in the following format: https://{tenant-name}.sharepoint.com, selecting the Credential type, then entering the credentials, after which click “Add Site.”
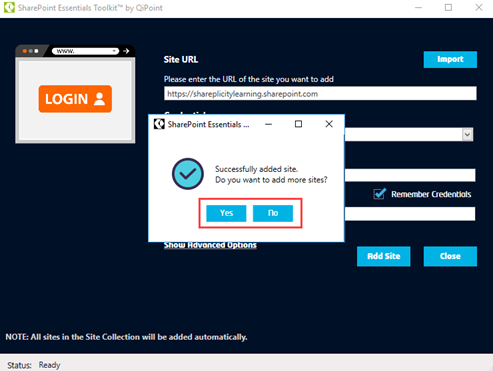
Once the site is successfully added, you can then choose to add more, which you can then press the “Yes” option, or “No” to complete the wizard and return to the main application.
SharePoint Essentials Toolkit, lets you mix connections into the same view. For example, you could have multiple SharePoint versions on-premises as well as Office 365 connected. This can become unwieldy, the more you add, so you to make it easier to manage, the group names can be modified. By default when a site is added, it creates the name “My Group” followed by a number.

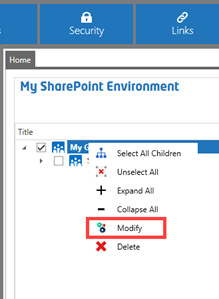
To rename the group, right click and choose the “Modify” menu item.
In the dialog, you can change the name and then select an icon that will represent the site.

Once you have entered the new name and selected an icon, press the “Save” button. Doing so will close the dialog, returning you to the site list with the name updated.

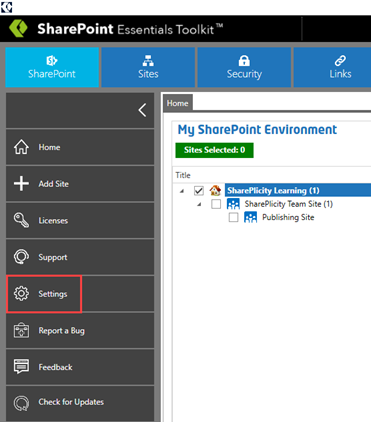
Now that a site is registered and ready to use, you can start to run reports as needed. Other settings are available that can help with the configuration of SharePoint Essentials Toolkit. These can be accessed by selecting the “Settings” menu from the left navigation.
Each of the configuration options can have an impact either the overall tooling or the running of the reports.
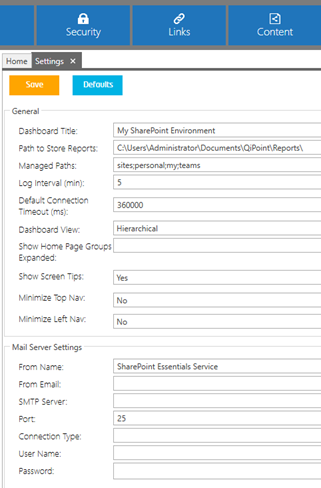
Many of the options are drop-down menus which have predefined values helping you to select from valid choices. The settings can be changed at any point which will then update the core options to work the way you need. Changing the path that SharePoint Essentials Toolkit stores the reports can be easily completed by changing the “Path to Store Reports” property.
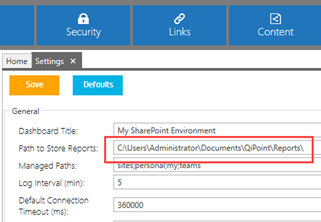
Once a change is completed, press “Save” and the values are updated until they are modified again.
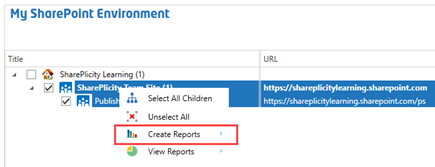
After adding a site collection, the subsites will all be listed in the Home Page Dashboard that the user account has access to (if the user has no access they will not be displayed). To being creating a report, right click on a site and select “Create Report” and choose the report to generate. Pretty simple right?!
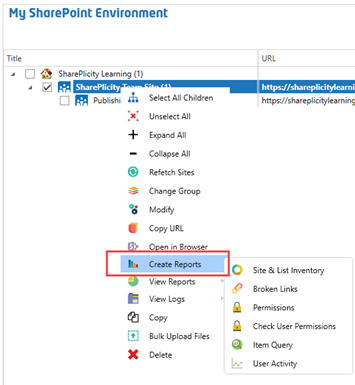
If you needed to run a report against a subsite of sites, such as for a particular business unit or group of project sites, select the subset of sites you need to report on (click their checkbox), then right-click and choose the “Create Report” menu option. You can then build what we call a “Merged Report” for just the sites selected.
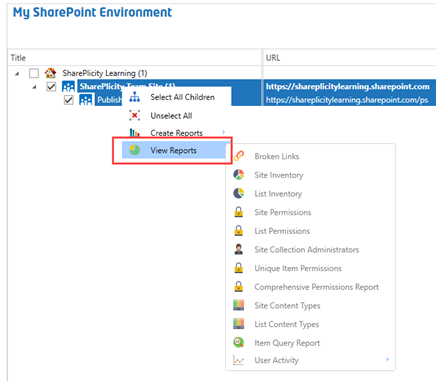
You can also at any time view reports for selected sites by selecting the sites you want to view a report for, and then right click and select “View Reports” and choose the report to generate.
Related articles
©2018 QiPoint
2500 Plaza 5, 25th Floor
Harborside Financial Center
Jersey City, NJ 07311
http://www.qipoint.com
Microsoft, Windows, SharePoint, and the SharePoint logos, are either registered trademarks or trademarks of Microsoft Corporation.